
WirelessKUS para PC
kontedmed
Descarga WirelessKUS en PC con GameLoop Emulator
WirelessKUS en PC
WirelessKUS, proveniente del desarrollador kontedmed, se ejecuta en el sistema Android en el pasado.
Ahora, puedes jugar WirelessKUS en PC con GameLoop sin problemas.
Descárgalo en la biblioteca de GameLoop o en los resultados de búsqueda. No más mirar la batería o llamadas frustrantes en el momento equivocado nunca más.
Simplemente disfrute de WirelessKUS PC en la pantalla grande de forma gratuita!
WirelessKUS Introducción
Production enterprise name: Beijing Konted Medical Technology Co., Ltd.
Registered address:1F,Building 3,No.27 Yongwang Road, Daxing Biological Pharmaceutical Industry Base, Daxing District,Beijing,China
Production address: 1F,Building 3,No.27 Yongwang Road, Daxing Biological Pharmaceutical Industry Base, Daxing District,Beijing,China
Zip code:102629
Tel: 8610-60219113
Fax:8610-60219213
The first time connection between the probe and the smart terminal device need to be entered the Wifi password.
After the first time connection, the device will be connected with the probe’s wifi automatically.
Establish a connection between the ultrasound transducer and your IOS or Android device via WIFI. Turn on the ultrasound transducer and turn on the WIFI on your IOS or Android device. Search the list of networks for the SSID with the suffix SL,KC,KL...
WIFI: SL-2C GMBIKA012
This WIFI’s password is the serial number of the probe, but it is the small letter not capital.
When the probe’s WIFI connect with iPad successfully, The probe’s status and software interface is as below:
1) Wifi connection status:if the probe’s serial number showed, connected successfully
2) Patient information management: patient info entry
3) Gain: click 10) to increase or reduce the gain;or press up and down arrow button on the probe.
4) Depth:just slide the iPad’s screen with your finger;or press menu button on the probe
5) Frequency: click 19) to change the frequency
6) Dynamic Range: click the hidden menu 5) to adjust the dynamic range of the image
7) ENH: click the hidden menu 6) to change the level of ENH.
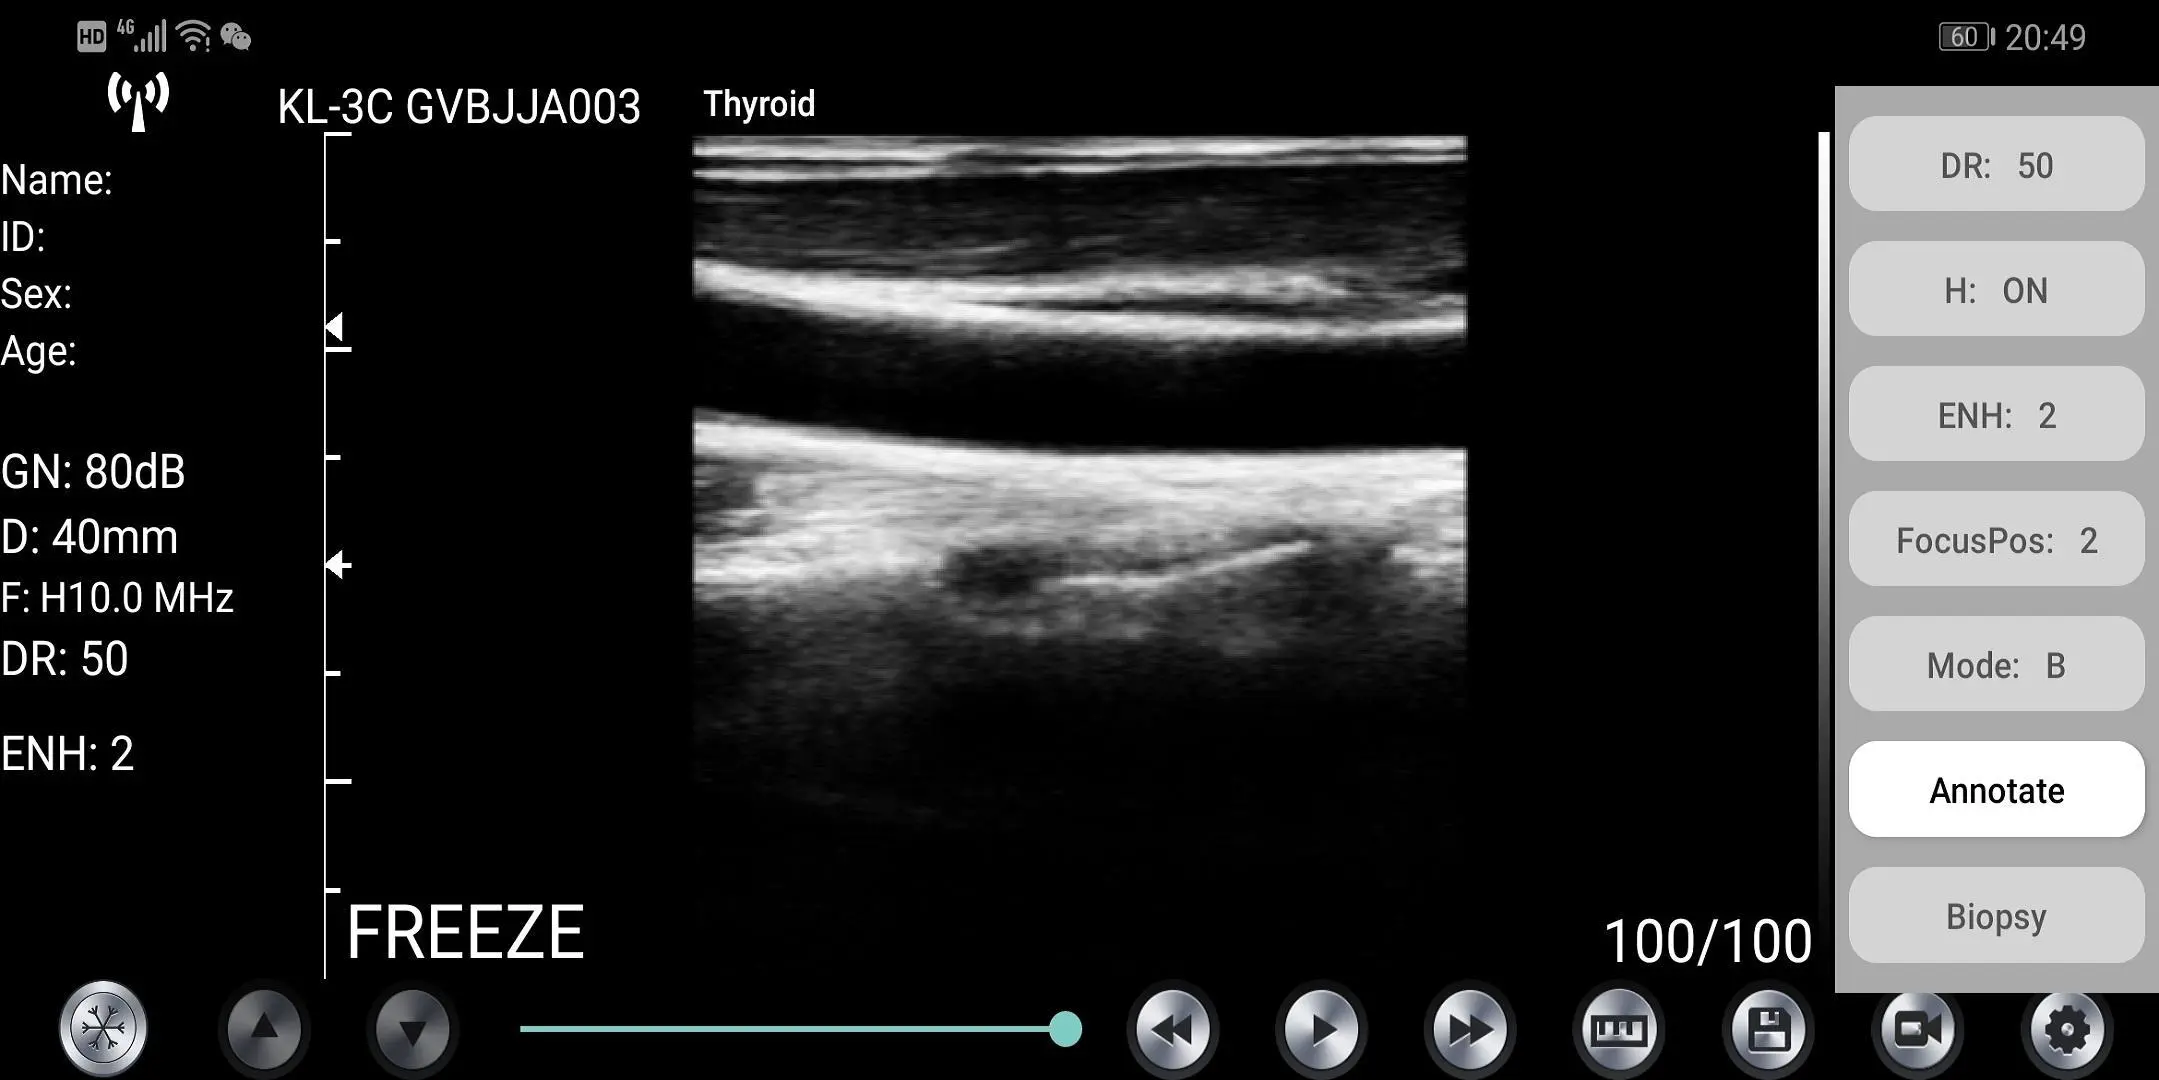
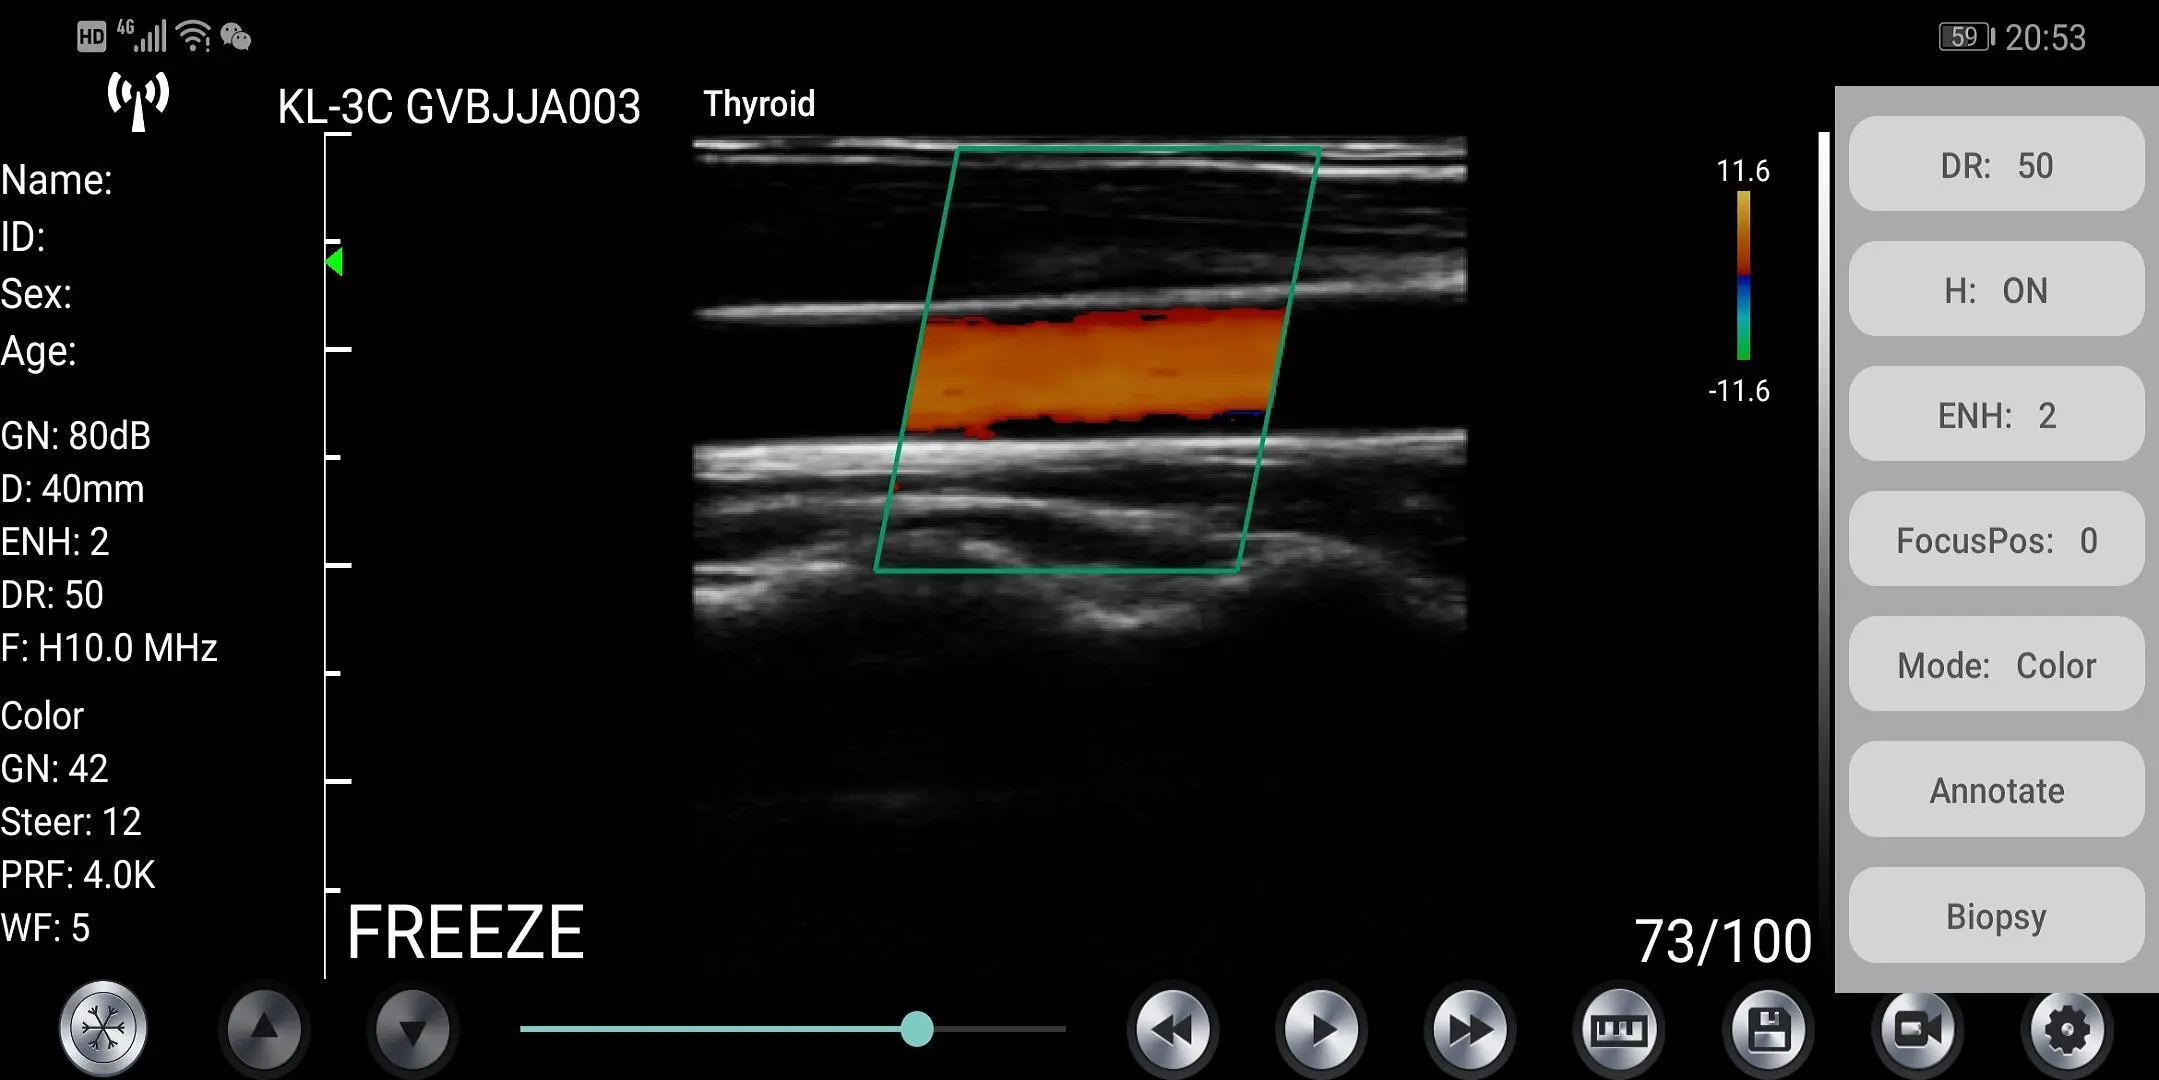
8) Image area:image area
9) Freeze/Live status: to show the status
10) Freeze/Live button: after power on and connect with the probe,it will be showed Freeze status, press this button again, the status will be live
11) Gain adjust button
12) Movie Playback: Playback after the image is frozen
13) Movie Playback: Playback after the image is frozen
14) Measurement: distance / area / obstetric measurement(Length, Area, Circumference,GA(CRL,BPD,GS,FL,HC,AC)
When measuring, if you need to fine-tune the location of the measuring point, click the measuring point to make it turn green. The following button will appear on the lower right comer. Click the arrow to adjust and confirm by pressing the middle square button.
After measuring, press the delete button to delete all the measurement results. If you want to delete a certain measurement, dick on the X number to the right of the result on the result
15) Save Image: Save a single image
16) Save Image Video: Save entire image video
17) Settings: WIFI channel selection in order to avoid congestion
18) The second level menu button
19) 8 TGC
20) Puncture: Draw the puncture line for puncture guidance
The puncturing function includes two types of in-plane and out-of-plane puncturing. The in-plane puncturing can adjust the angle by the arrow button in the lower right comer of the image. The out-of-plane puncturing can adjust the depth and size of the blood vessel and automatically prompt the blood vessel depth and radius in the lower right comer of the image.
21) Comment: Enter a comment on the image
22) Image model: B, B/M, color, PW, PDI
23) FocusPos: click it to adjust focus 0-3
24) ENH:image enhancement from 0-4
25) THI: click it to change THI on/off
26) DR: Dynamic range
Avance
Etiquetas
MedicinaInformación
Desarrollador
kontedmed
La última versión
3.6.24
Última actualización
2021-01-18
Categoría
Medicina
Disponible en
Google Play
Mostrar más
Cómo jugar WirelessKUS con GameLoop en PC
1. Descargue GameLoop desde el sitio web oficial, luego ejecute el archivo exe para instalar GameLoop.
2. Abra GameLoop y busque "WirelessKUS", busque WirelessKUS en los resultados de búsqueda y haga clic en "Instalar".
3. Disfruta jugando WirelessKUS en GameLoop.
Minimum requirements
OS
Windows 8.1 64-bit or Windows 10 64-bit
GPU
GTX 1050
CPU
i3-8300
Memory
8GB RAM
Storage
1GB available space
Recommended requirements
OS
Windows 8.1 64-bit or Windows 10 64-bit
GPU
GTX 1050
CPU
i3-9320
Memory
16GB RAM
Storage
1GB available space